Steps for Finishing a Painting.
February 26, 2022 Sue Dion
A couple of weeks ago, I invited you to join me on a journey of completing some of our abandoned paintings. Below is the first painting I worked through and images and descriptions to share the choices I made along the way.
I hope you find this helpful and that you were able to save one of your own abandoned artworks as well!

The painting as I had left it.
STEP ONE: I selected this painting to complete because I liked the general composition. My first consideration was color. I decided that all of the high chroma hues were competing for attention and I could modify some areas of the painting to create a stronger focal point.

Step Two: Starting with a grey blue I began covering the background. As I worked I addes some greyish white highlights into the still wet background.
Step Three: After deciding to minimize the brightness of the foreground as well I accented the back edge of the “table” a bit a darker value. At this point I felt that a few negative shapes in the vase and some line work around the flowers might make the painting a bit more interesting.

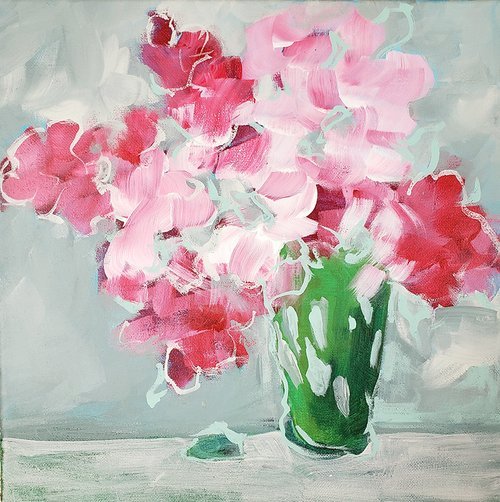
Step Four: In my final version, I added glazed over the negative shapes in the vase, added some subtle detail to the flowers and some pops of a darker green in the vase and between the flowers. I feel that the painting is more successful with these darker accents as it helps to let the light passage become a stronger focal point and lead the eye through the composition.